Love making homemade gifts for friends and family? This holiday season, put your Cricut Joy and Easy Press 2 to good use with these DIY personalized family t-shirts - the PERFECT holiday gift.
My four year old LOVES to draw! Scrap paper? She'll find it. And not long after, it will be covered in letters and drawings. Mostly the names and depictions of close family members.
So this holiday season, I decided to put her writing and doodling to good use and turn it into a gift for family members using the Cricut Joy and Easy Press.
Today I'm sharing how to make personalized t-shirts with an easy Cricut Joy and EasyPress 2 tutorial, and you are going to be shocked at just how simple it is to create fun shirts for your family at home!
DIY Personalized Family T-Shirts
What You'll Need
White printer paper
Parchment paper
Scissors
Heat resistant tape (optional)
Lint roller
What To Do
1. Create! This is the fun part. I gave Morley the infusible ink pens and printer paper and let her go to work creating her masterpiece. I had asked her to draw photos of our family of 4, with one parameter - no words (because they would transfer backwards). The drawings also had to be a specific size (smaller than the EasyPress 2), so I gave her a specific-sized piece of paper to use.
2. Prepare your blanks. In order for the ink to transfer properly, the blanks (in my case, t-shirts) had to be clean and lint-free. You can use any "blank" (i.e. t-shirt, tote, etc.), however, it is important to note that Cricut brand products will give you the best quality transfer.
3. Consult the heat guide. Once the blanks are prepped, consult the Cricut Heat Guide for the EasyPress 2 to know exactly how hot the press should be based on the product and material you are using. This guide will also give you instructions as to the layering process for using the EasyPress 2, and the length of time to apply the press.
Tip: If you purchase Cricut t-shirts, they will come folded with a piece of cardstock. This piece of cardstock can be used when pressing.
4. Further customization. This is a totally option step, but adds a little bit more personalization to your gift. After our infusible ink design was successfully applied, we decided to further personalize the t-shirts with the Cricut Joy and infusible transfer paper. This is where we added text to the t-shirts.
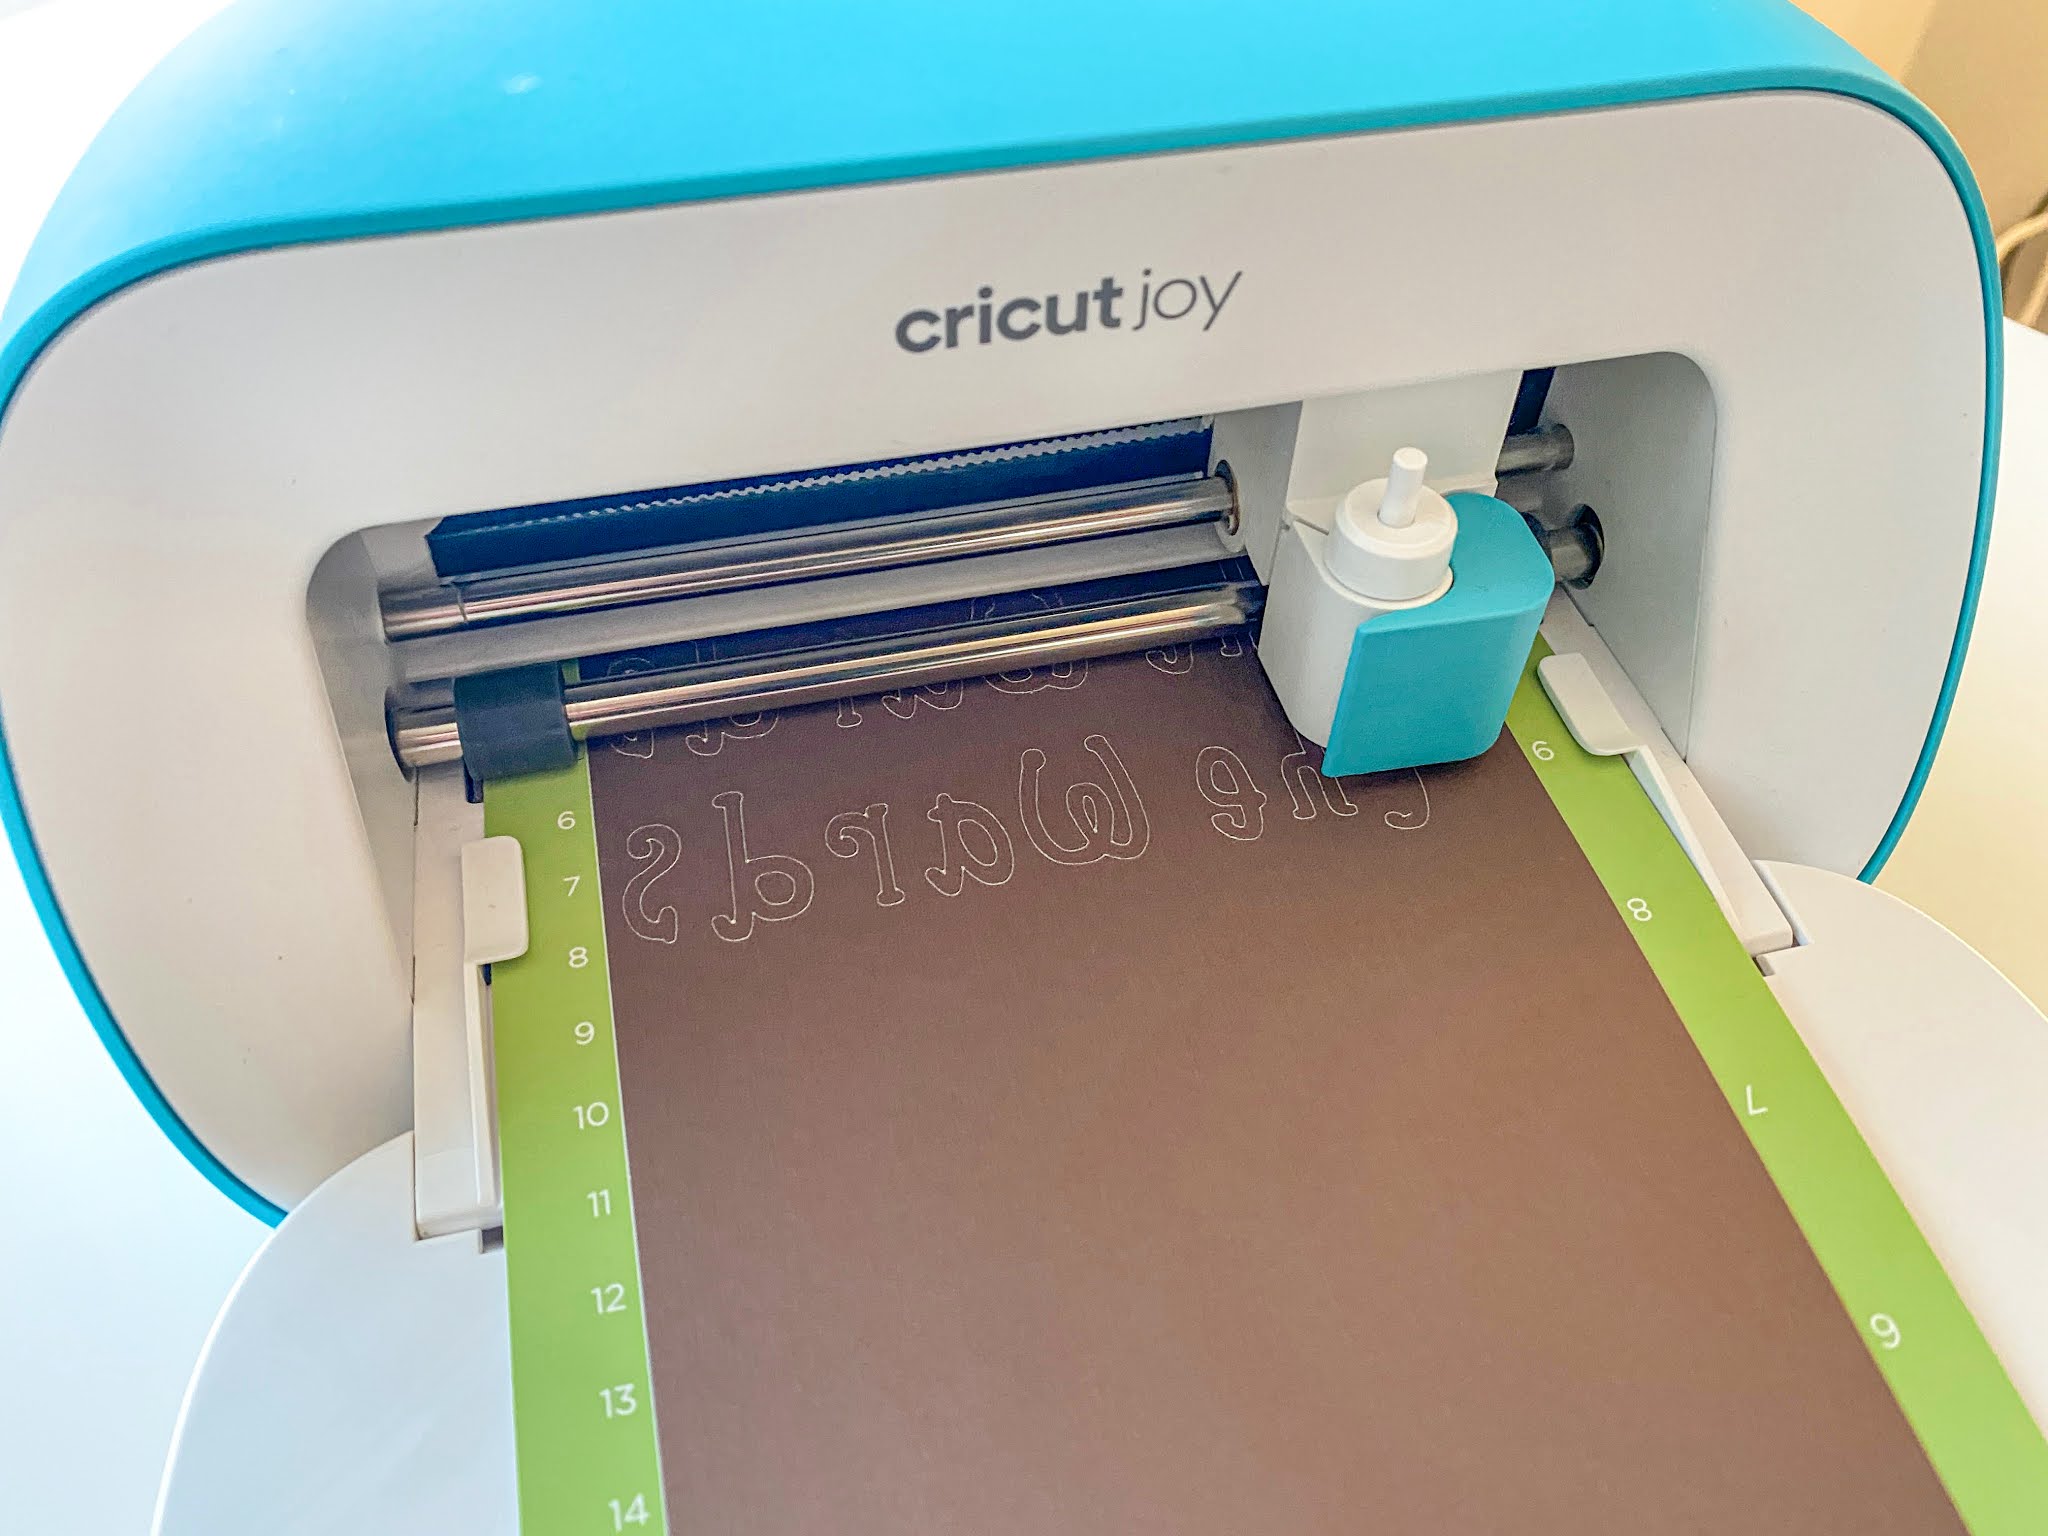
Using the Cricut Design Space app, I created the text. It was then cut out of black infusible transfer paper. (I consulted help.cricut.com to learn how to use the Cricut Joy to cut the transfer paper properly, as it is a slightly different than the vinyl.) Don't forget to mirror the image, or it will transfer backwards!
After weeding the transfer paper, I again consulted the Cricut Heat Guide for further instructions on applying this transfer paper to the t-shirt using the EasyPress 2. As it was a different material than the original design, the instructions slightly varied.
And voila, our personalized family t-shirts, care of Morley.
I am fully aware that there will come a day that Morley will not want to be caught dead wearing matching homemade family t-shirts, but until that day, I'm going to embrace every single second and cherish the fact that she wanted to make these shirts for members of our family.
The PERFECT holiday gift made with our Cricut Joy and EasyPress 2, don't you think?!
Now, what shall we make next?!


